Silversmithing
3/30/2025
I’ve always had a thing for silver jewelry—not just wearing it, but staring at it, turning it over in my hands, and wondering how something so small could feel so special. After years of collecting pieces and admiring the craft from afar, I finally decided it was time to try making something myself. In this blog, I want to share a bit about the world of silversmithing: the history behind it, the techniques that go into it, and my own messy, fun, and slightly chaotic first attempt at creating a silver ring.
History
Ancient Civilizations
Silversmithing dates back to around 5000 BCE in Mesopotamia, where Sumerians crafted intricate jewelry such as earrings and necklaces. Silver was also prominent in ancient Egypt, where it was rarer than gold and associated with the moon, symbolizing wealth and spirituality.
Medieval Period
During the Middle Ages, silversmithing became more structured with the emergence of guilds. These organizations standardized training and ensured quality craftsmanship. Silversmiths primarily created functional items like cutlery, goblets, and religious artifacts
Renaissance Era
The Renaissance brought a surge in creativity, with silversmiths producing highly detailed works. Techniques such as engraving, embossing, and hallmarking (certifying purity) became widespread
Industrial Revolution
The 18th and 19th centuries saw the introduction of machinery like rolling mills, mechanical presses, and die-stamping machines. These innovations enabled mass production while maintaining precision
Modern Era
Modern silversmiths use tools such as gas torches for soldering and laser beam welding for precision work. While traditional techniques remain central, new methods have expanded the possibilities for design and efficiency
Techniques of Silversmithing
Forming Techniques
Hammering: Shaping silver by striking it with hammers over anvils or stakes. This includes:
Raising: Hammering flat sheets into hollow forms like bowls or cups.
Planishing: Smoothing surfaces after forging.
Annealing: Heating silver to make it malleable during shaping processes. This prevents cracking from work-hardening.
Decorative Techniques
Chasing involves engraving patterns on the front of the metal.
Repoussé shapes metal by hammering from the reverse side to create raised designs.
Engraving: Using finely crafted tools like burins to carve intricate designs into the silver surface.
Embossing: Creating raised patterns using specialized tools for precision.
Assembly Techniques
Soldering: Joining pieces of silver using a filler metal melted at high temperatures.
Riveting: Mechanically fastening parts together without heat.
Casting: Molten silver is poured into molds to create uniform shapes like handles or knobs. This method has been used since medieval times but was refined during the Industrial Revolution for efficiency.
Finishing
Polishing with buffing wheels or compounds is essential for achieving a smooth, reflective surface.
Hallmarking stamps certify purity and origin, a practice introduced during the Renaissance.
Making Process
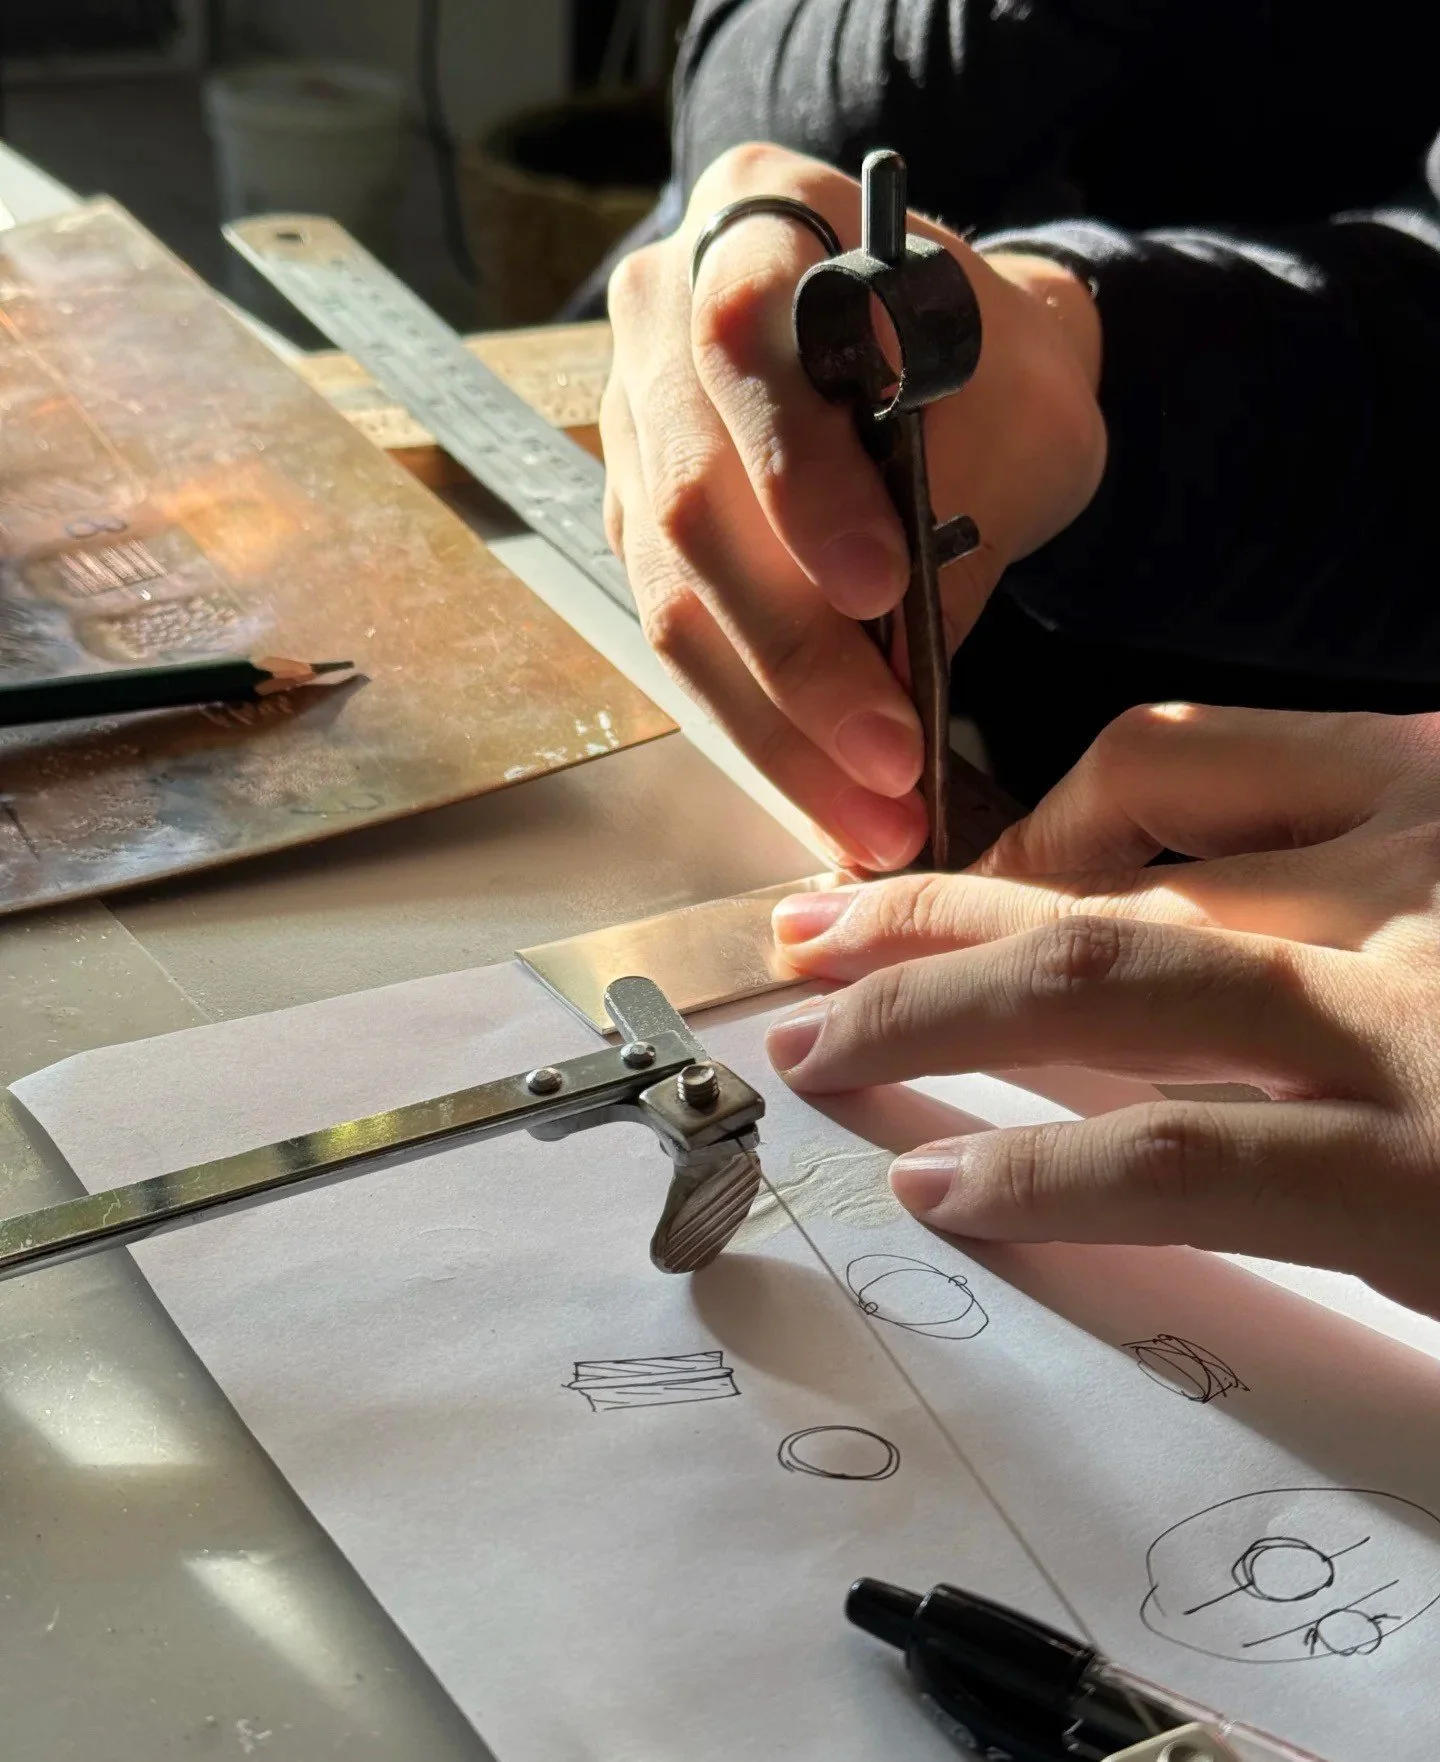
Drawing out the jewelry design.
Solder 3 pieces together.
Marking: Using a scribe or fine marker to trace cutting lines onto the silver surface. This ensures accuracy and helps guide straight, clean cuts during piercing.
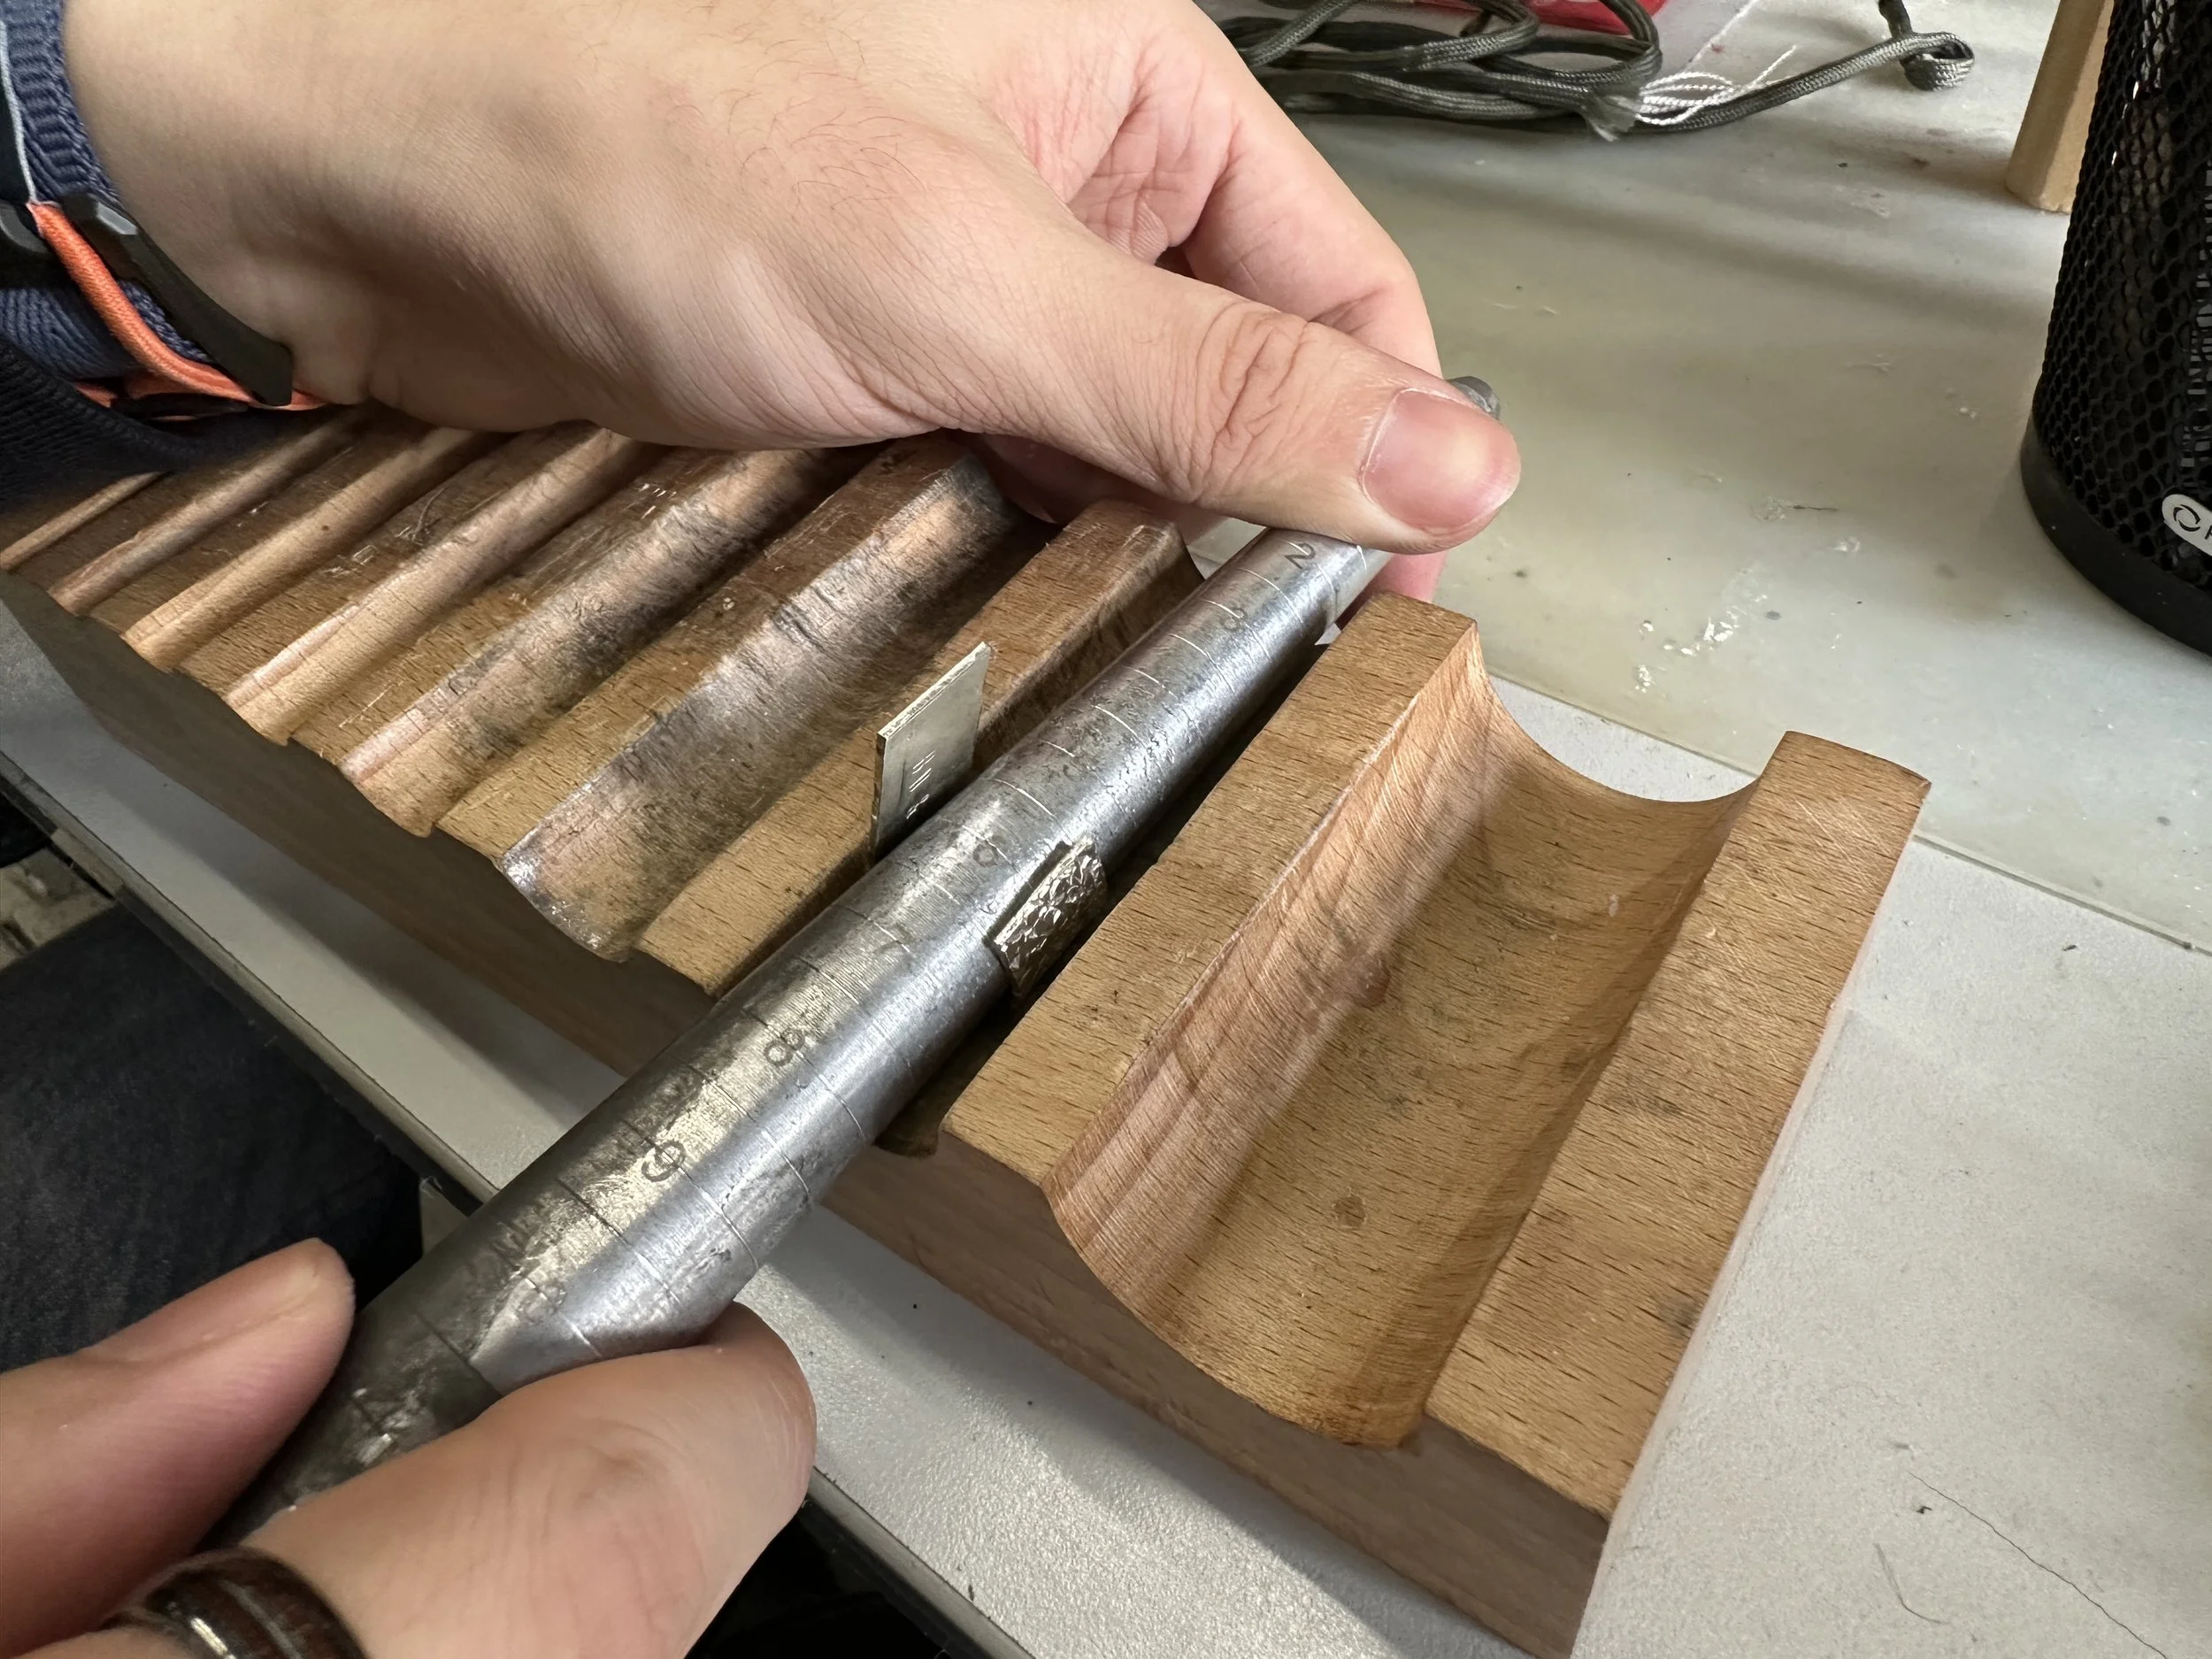
Forming on a Mandrel: Bending and hammering a flat strip of silver around a mandrel to create a rounded ring shape. This shapes the metal into its basic form before refining.
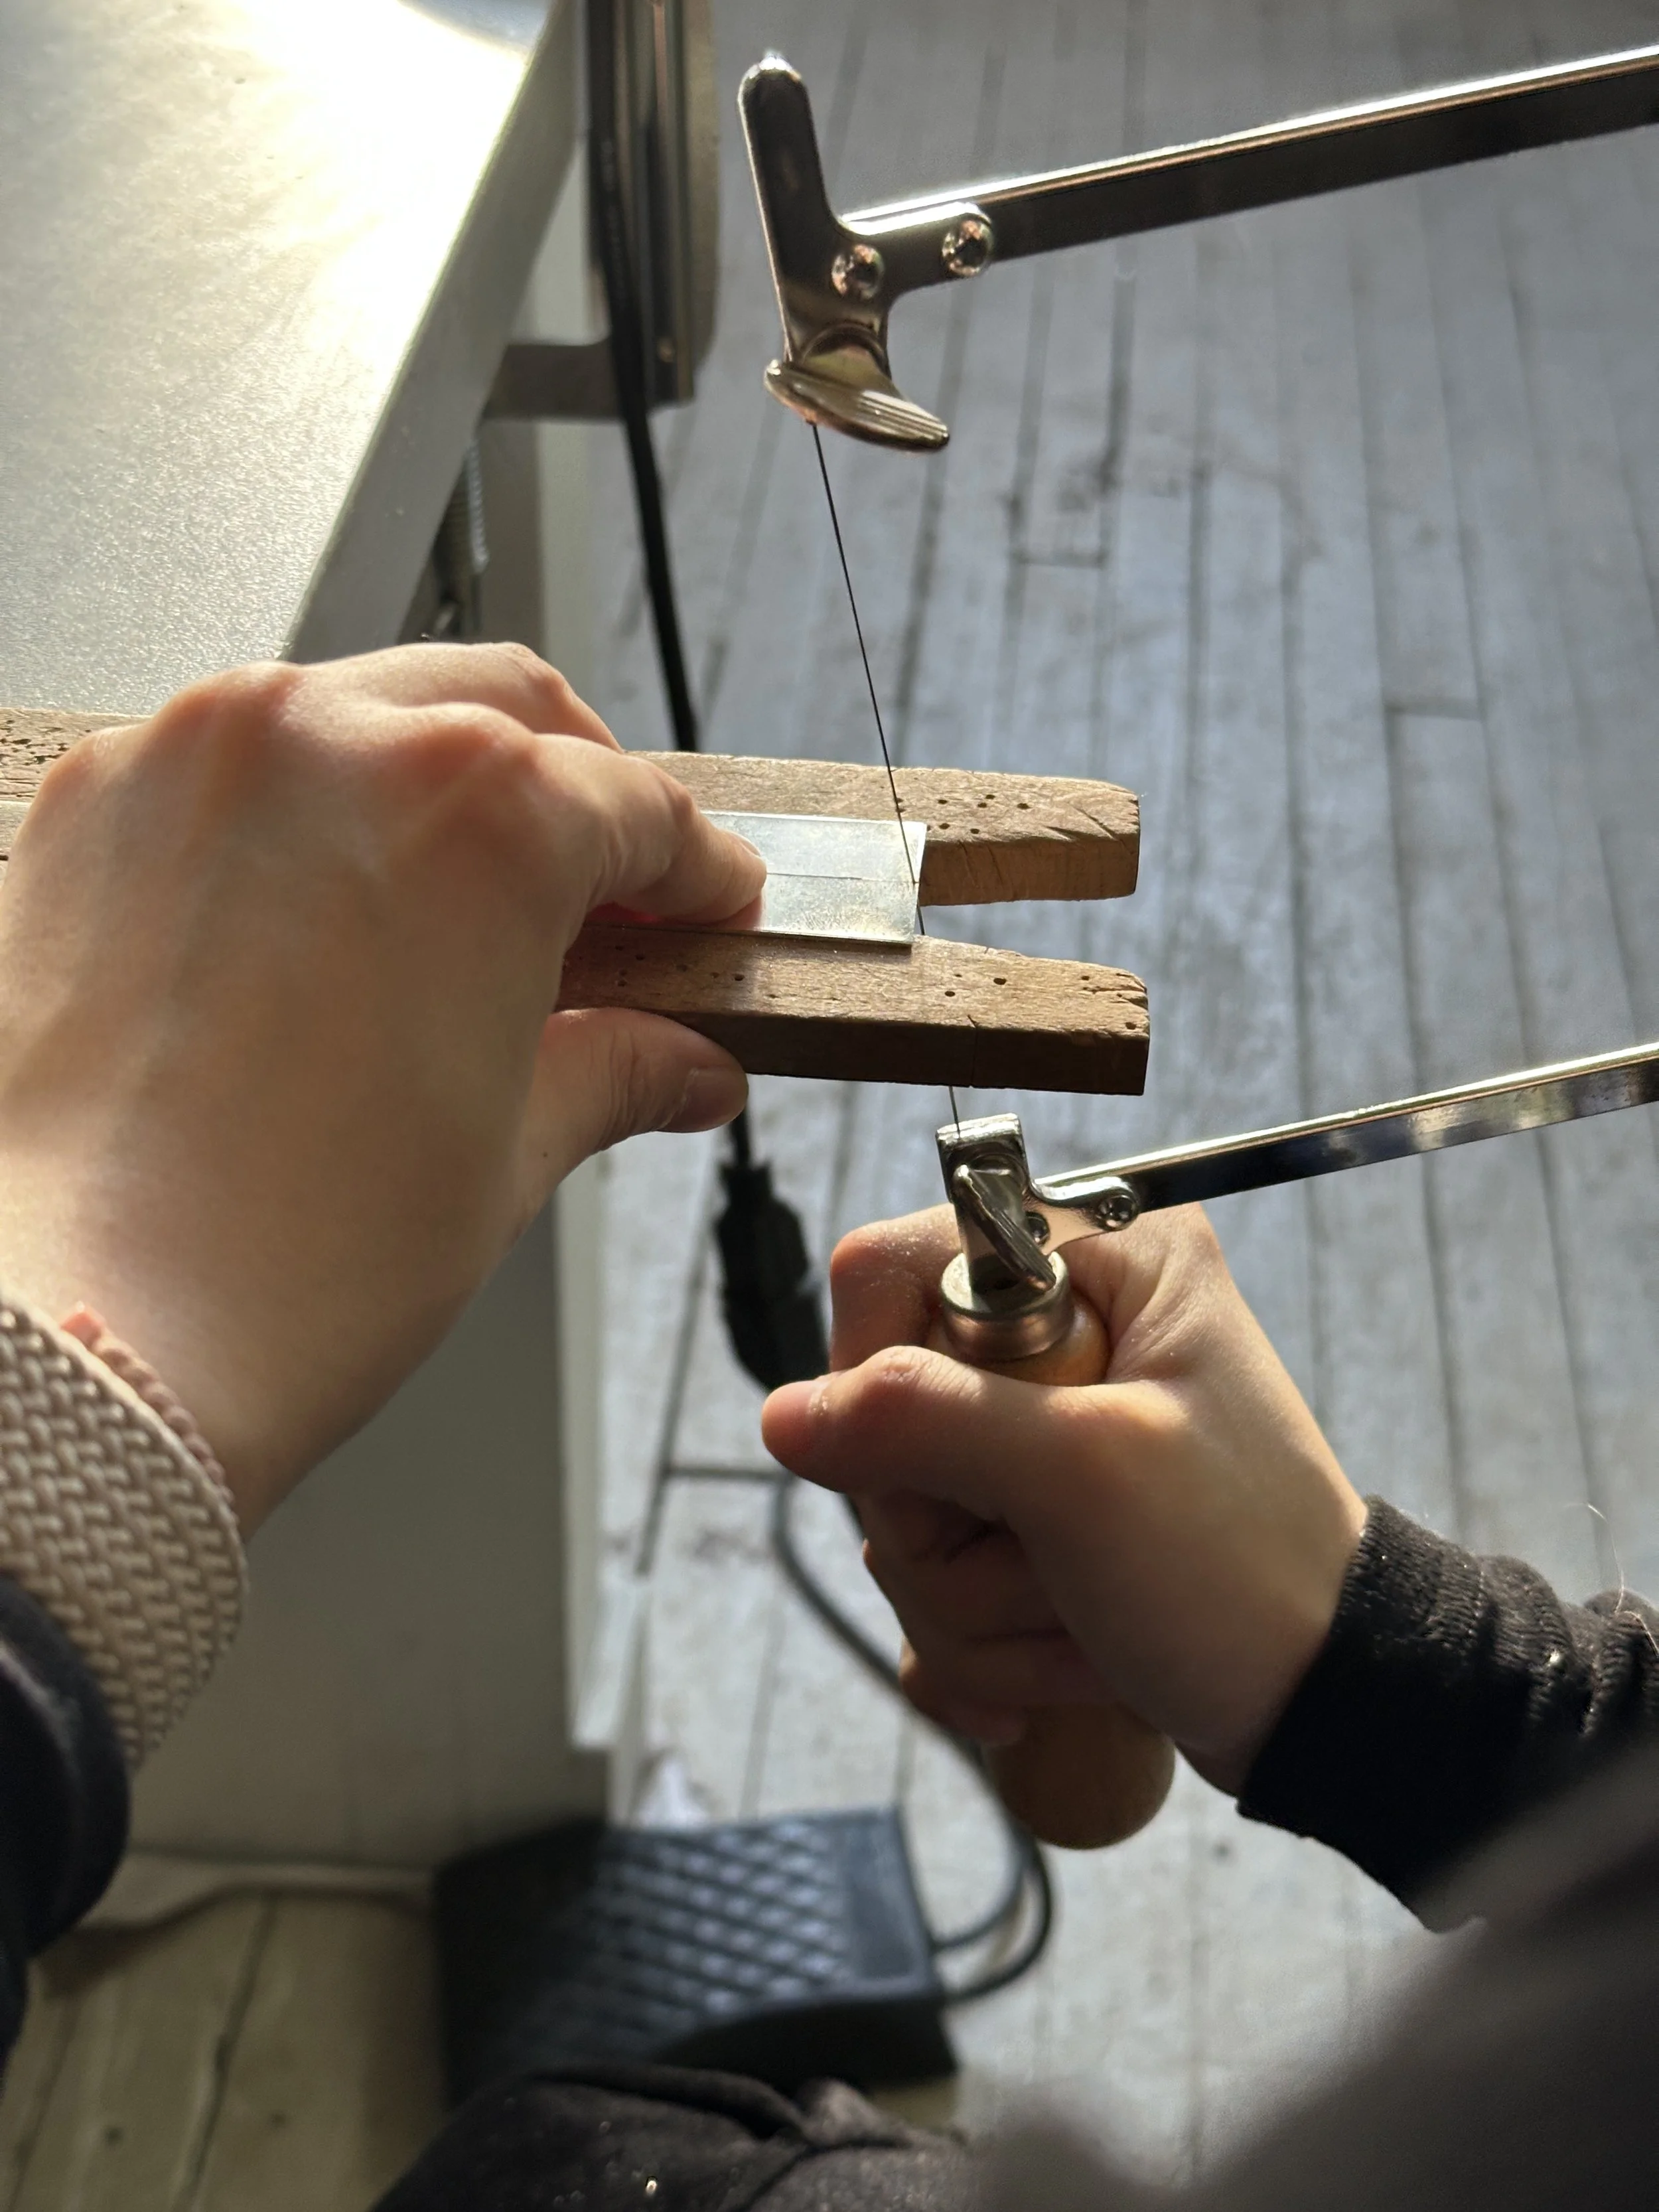
Piercing: Using a fine jeweler’s saw to cut shapes or sections from a sheet of silver. This allows for precise, controlled cutting by hand.
Pickling: Soaking the cooled metal in an acidic solution (called pickle) to remove oxidation, flux residue, and fire scale from the surface, leaving it clean and white.
Hammer Texturing: Striking the silver surface with a textured hammer to create patterns or surface effects. This adds visual interest and a tactile finish to the metal.
Sand the rough surface.
Apply flux & solder as adhesive for soldering.
Oxidizing: Applying a chemical solution like liver of sulfur to darken the silver’s surface. This creates a blackened or aged finish for aesthetic effect.
Play Journey
I’ve always loved buying jewelry, even though I don’t really wear them. Every time I come across a piece, I just can’t help but stop and admire the craftsmanship and design behind it. Over time, I ended up collecting quite a few pieces made from different materials—clay, glass, plastic, resin, and silver. Out of all of them, silver has always been the gem for me. It feels elegant and pretty and has so many possibilities in how it can be shaped and finished.
Because of my background in industrial design, I’ve always been curious about how things are made in real life—not just how they look but how they’re crafted. I had a rough idea of how silver jewelry is made, but the full process still felt vague to me. So, when I came across a post about a metal workshop in NYC, I immediately signed up. I wanted to finally learn how to make something with my own hands.
The workshop was run by art school students, and the space looked quite professional, fully equipped with the tools you’d need for silversmithing. The overall experience was fun—I got to make a silver ring myself—but honestly, I wasn’t completely satisfied with how the workshop was organized. I was hoping there would be at least a 30-minute introduction to silversmithing. Not necessarily a deep dive into its history, but at least an overview of techniques and how to achieve certain effects before we jumped straight into making something.
I didn’t design anything too complex, so following the steps wasn’t too difficult. It took me about four hours in total to finish my ring. The instructor was nice and clearly experienced in silversmithing, but honestly, not the best at teaching. She mostly just told us the next step without explaining much of the “why” behind it.
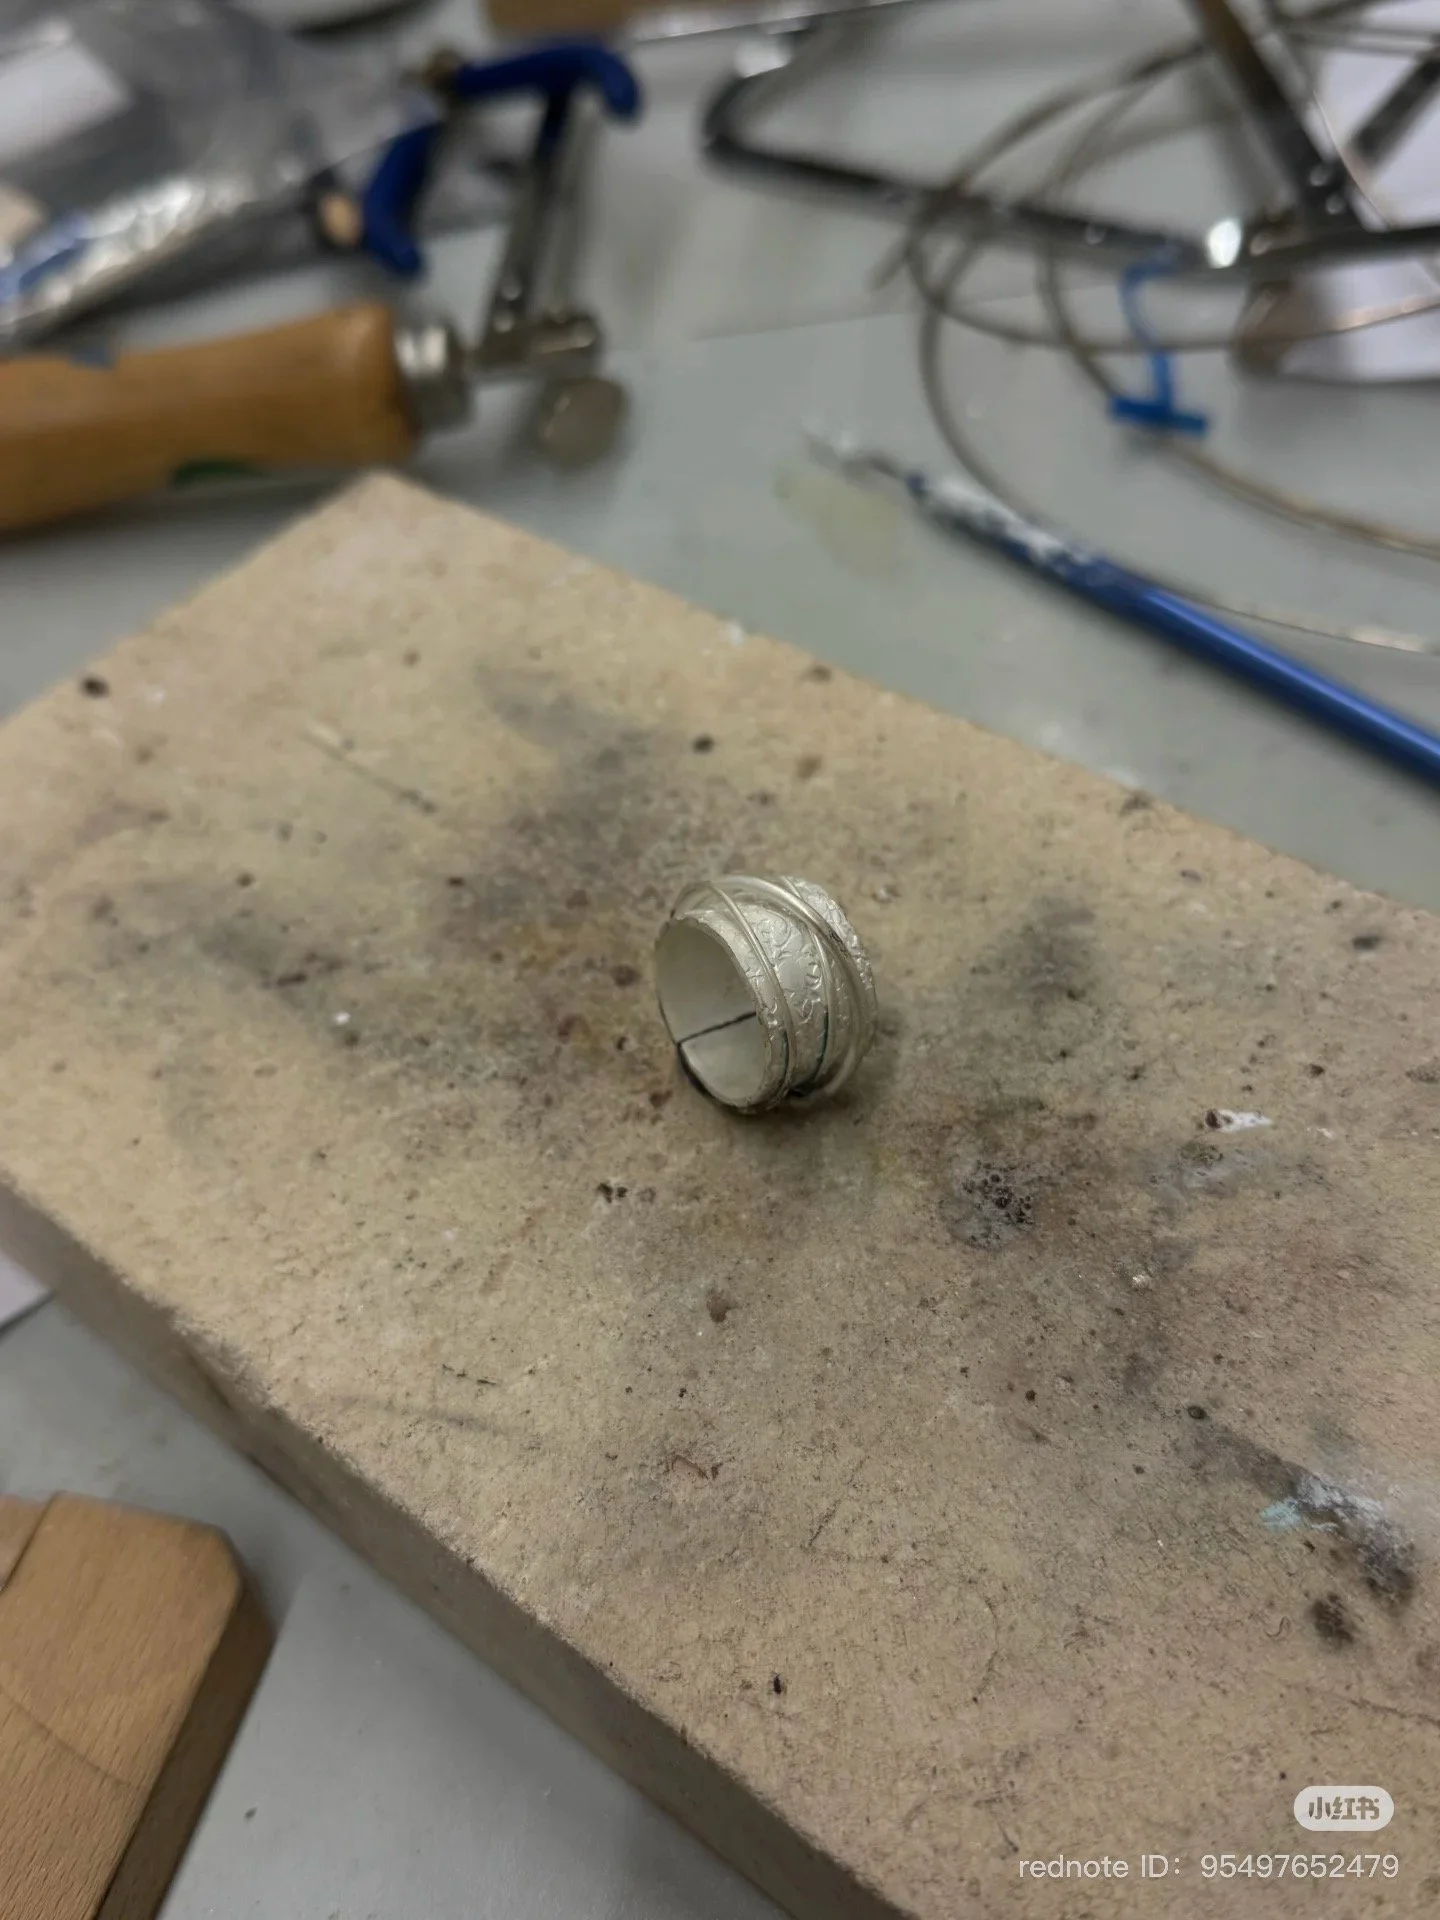
That said, the experience was still really enjoyable. I walked away with a dark silver ring that ended up being a bit larger in gauge than I expected, but it felt personal and special because I made it myself.


